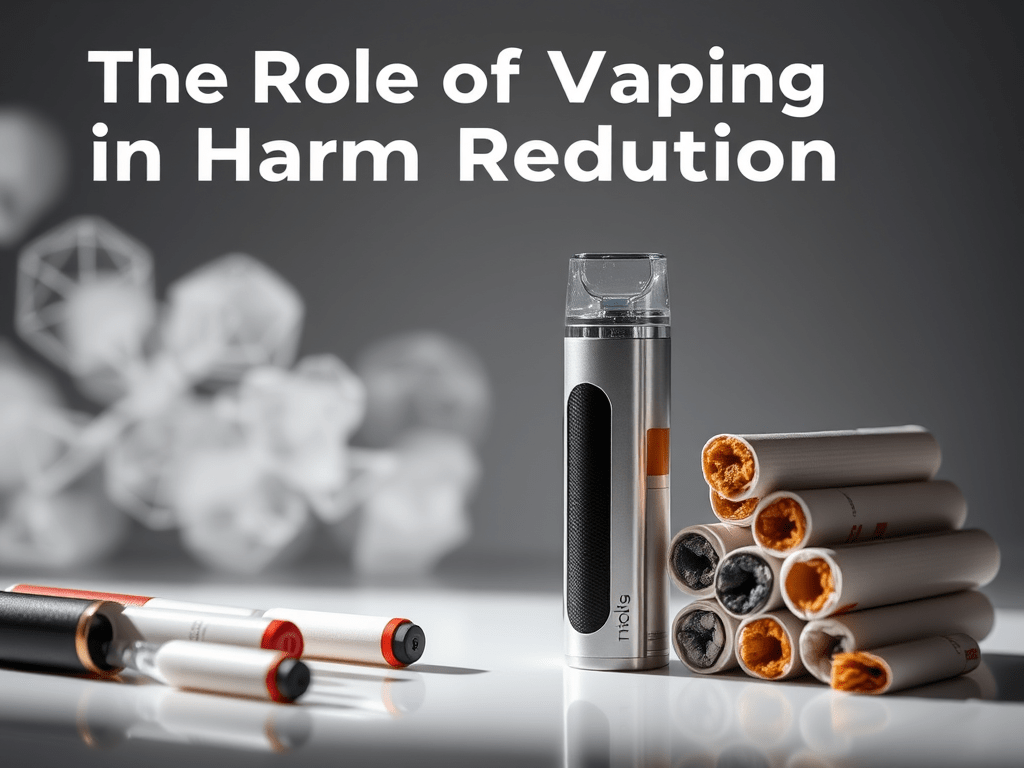
Vaping offers a customizable and cost-effective experience, but one part of the equation that often gets overlooked is proper maintenance—especially coil cleaning. Coils aren’t cheap, and dirty ones can ruin the taste of your vape, shorten device life, and reduce vapor production. The good news? You can easily clean them yourself. In this guide, we’ll break down why you should clean your coils, when it’s better to replace them, and how to clean them with simple, proven techniques. Not only will this help you save money, but you’ll also enjoy smoother, cleaner hits from your device.
If you’re new to vaping or want to learn more about keeping your setup in top shape, resources like Vaping360 provide tons of user-friendly tips for vapers at all levels.
Why Clean Your Coils?
Keeping your coils clean is like changing the oil in your car. It helps everything run smoothly, saves money in the long run, and protects other components of your vape setup.
Here’s why regular coil cleaning matters:
- Improves Flavor: Burnt residue builds up over time and dulls the flavor of your e-liquid.
- Boosts Performance: Clean coils heat more evenly and produce more satisfying vapor.
- Extends Coil Life: A well-maintained coil can last significantly longer, saving you from weekly replacements.
- Prevents Gunk Build-Up: Dark, sweet, and sugary e-liquids leave sticky residue that can clog your coils.
Coils typically need cleaning when:
- You notice a burnt or muted taste.
- Vapor production decreases.
- E-liquid tastes off even after a tank refill.
Step-by-Step Coil Cleaning Methods
There are two widely used methods to clean vape coils: Dry burning and soaking/rinsing. The best one for you depends on your coil type and how much time you have.
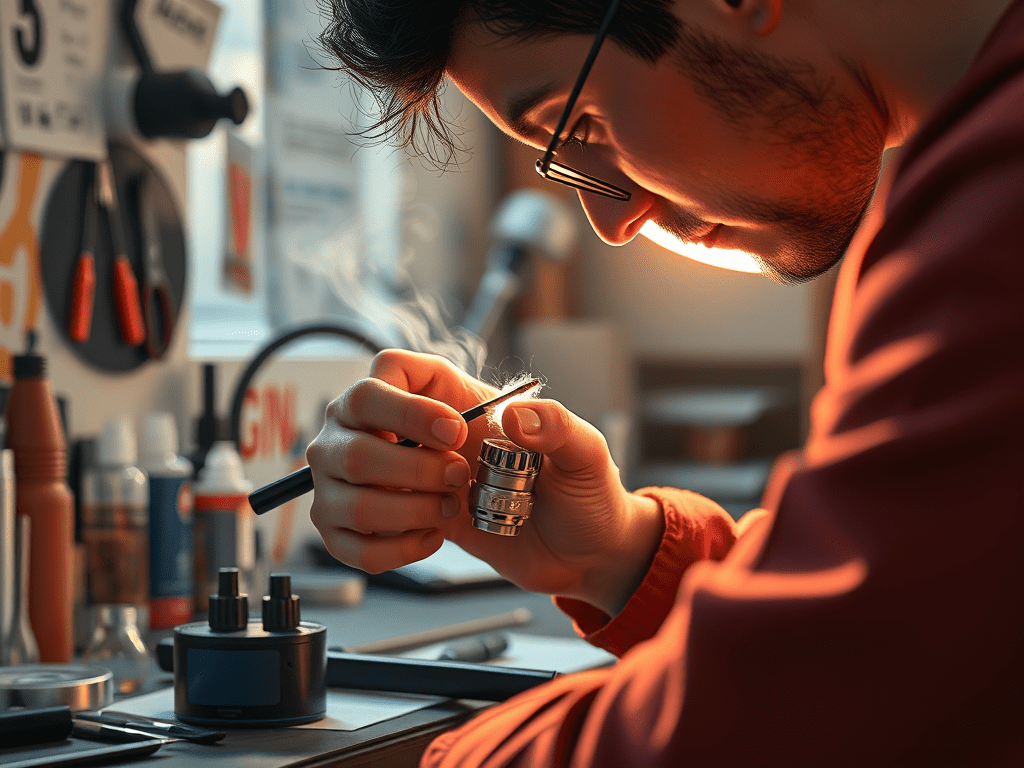
The Dry Burn Method
Dry burning is a quick, effective way to clean rebuildable coils (like those in RDAs and RTAs). This method is not recommended for stock prebuilt coils because it can damage the cotton wicking material.
Steps:
- Remove the wick from the coil.
- Fire the coil in short bursts (1-2 seconds) until it glows red. This burns off built-up residue.
- Gently brush off ash with a small wire brush or toothbrush.
- Rinse under warm water, if desired.
- Fire the coil again briefly to dry it.
🔧 Tip: Don’t hold the fire button too long—overheating can damage the coil.
This method is best for vapers using DIY setups who want a fast refresh without waiting.
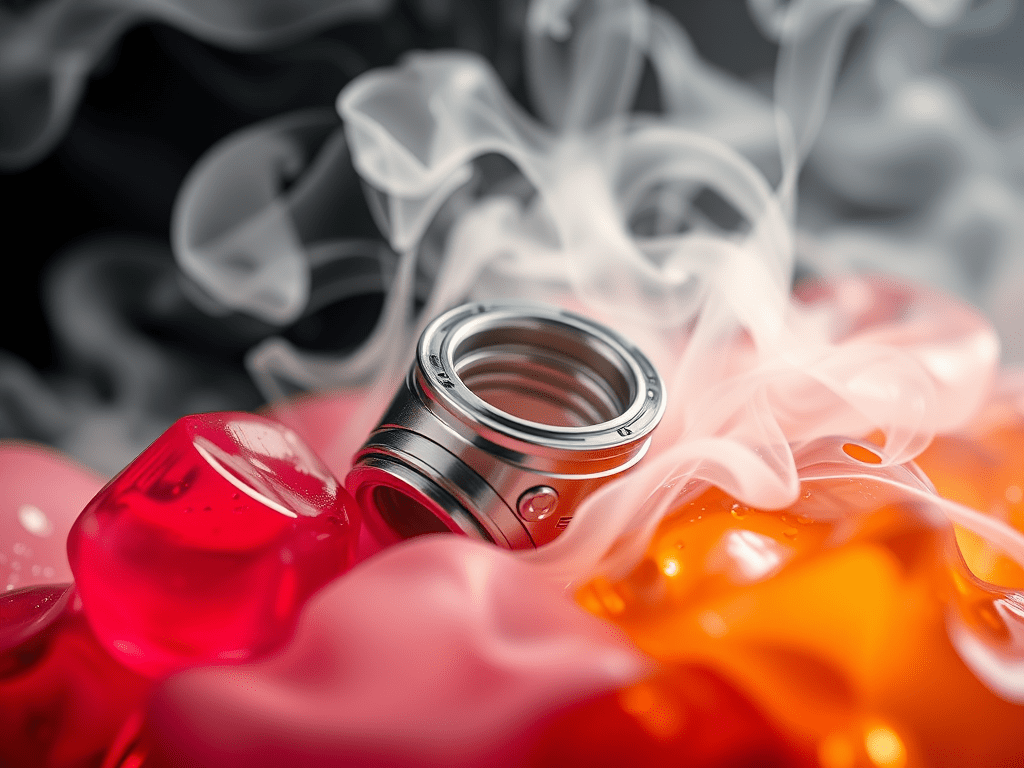
Soaking & Rinsing Techniques
If you use prebuilt coils, soaking is your best bet. It’s safe, easy, and effective at dissolving stubborn e-liquid gunk.
Materials Needed:
- A small bowl or cup
- Warm water (or a mild solution like vodka or ethanol)
- Paper towels or microfiber cloth
- Cotton swabs or a soft brush
Steps:
- Remove the coil from your device or tank.
- Rinse it under warm running water to remove surface residue.
- Soak the coil in warm water or unflavored vodka for several hours (overnight works best).
- Rinse thoroughly again under warm water.
- Let it air dry on a paper towel for at least 24 hours.
- Reassemble your vape, prime the coil, and test the performance.
🧼 Bonus tip: If using alcohol like vodka, make sure to rinse with water afterward so no residue remains.
The soaking method takes more time but does a better job at deep-cleaning coils without damage. If you’re looking for a full cleaning solution guide, check out EcigClick’s maintenance tips.
When to Replace vs. When to Clean
Even the best cleaning routine can’t save a coil that’s past its prime. So how do you know when it’s time to toss your coil and start fresh?
Signs You Should Replace Your Coil:
- Persistent burnt taste even after cleaning
- Leaking or gurgling sounds from your tank
- Visible coil damage (bent wires, loose parts)
- Dark, hardened gunk that won’t rinse off
When Cleaning Makes Sense:
- You’re using a rebuildable atomizer with coil wire in good condition
- The issue is minor—like a slight flavor drop or buildup after a sweet e-liquid
- You want to rotate between flavors and avoid lingering aftertastes
Cleaning is great for extending coil life, but coils aren’t meant to last forever. Most standard coils last 1–2 weeks, while well-maintained DIY coils can go for a month or more.
Other Helpful Coil Maintenance Tips
Here are a few extra ways to get more life and flavor out of your vape coils:
- Use high-quality e-liquids – Cheap juices can leave behind more residue.
- Prime your coils properly – Always saturate new coils before use.
- Avoid chain vaping – Give your coil time to reabsorb e-liquid.
- Clean your tank weekly** – Residue in your tank can ruin a clean coil fast.
You can also rotate between two coils to give each one a break and reduce wear over time.
If you’re looking for expert tools and cleaning gear, vape maintenance kits are available from shops like DirectVapor.
Conclusion: Coil Cleaning Is Worth the Effort
Cleaning your vape coils is one of the most practical habits you can adopt as a vaper. Not only does it extend the life of your gear, but it keeps your vaping sessions smoother, tastier, and far more cost-effective. Whether you’re a beginner using prebuilt coils or a DIY enthusiast running a rebuildable deck, maintaining clean coils can make all the difference in performance and satisfaction.
The next time your vape starts tasting a bit off, don’t rush to buy a new coil—give cleaning a try first. And if you’re staying up to date with the best tools and habits, resources like Reddit’s electronic cigarette forum are full of tips and experiences from seasoned vapers who’ve made coil care a regular ritual.
Cleaning doesn’t just save money—it makes vaping better. Happy coiling!


Leave a comment