A new coil is like a fresh engine—it needs proper care before reaching peak performance. Many vapers rush straight into using a brand-new coil at full power, only to experience muted flavors, a burnt taste, or even coil damage. Breaking in your coil properly ensures every puff delivers rich, consistent flavor from the start. According to Vaping360, proper coil priming and break-in can extend coil lifespan and dramatically improve vapor quality. Whether you use sub-ohm tanks, pod systems, or rebuildables, understanding how to break in a coil can transform your entire vaping experience.
Why Coil Break-in Matters
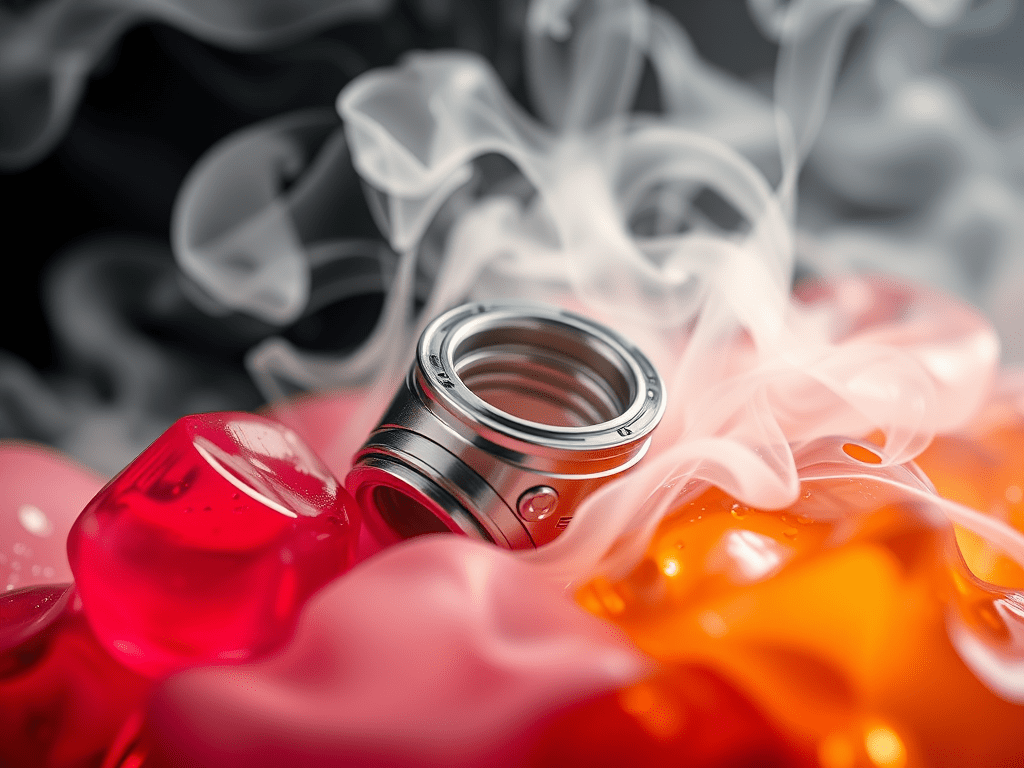
When a coil is brand new, the cotton inside the atomizer is dry and tightly packed. Without proper preparation, firing it immediately can cause the cotton to scorch before it fully absorbs e-liquid, resulting in an unpleasant burnt flavor. Breaking in the coil allows the wick to saturate evenly and gradually adapt to heat, which preserves its structure and flavor potential.
Coil break-in is more than just a technical process; it’s a ritual of patience and precision. Taking the time to do it right ensures:
- Longer coil lifespan: Proper saturation prevents dry hits and cotton burning.
- Full flavor development: The e-liquid’s flavor compounds vaporize evenly once the coil stabilizes.
- Smoother throat hit: Gradual heating avoids harshness and allows for consistent vapor production.
- Reduced maintenance costs: Well-broken-in coils last longer and perform more efficiently.
The Science Behind the Break-in
When you first use a coil, the metal (usually Kanthal, stainless steel, or mesh) must undergo a brief conditioning phase. This allows the resistance wire to stabilize, ensuring even heating across its surface. At the same time, the cotton inside needs to expand and fully absorb the e-liquid before exposure to higher wattages.
If you skip this step, the cotton may burn in certain areas, permanently affecting flavor and performance. By easing into the process, you’re effectively seasoning your coil—just as a chef seasons a cast-iron pan before cooking.
Step-by-Step Break-in Process
Breaking in a new coil doesn’t require advanced knowledge, just patience and careful attention. Follow these steps to ensure your coil performs perfectly from day one.
Step 1: Prime the Coil
Before installing your coil, apply a few drops of e-liquid directly onto the exposed cotton ports and inside the center of the coil. The cotton should look damp but not oversaturated. This helps prevent dry spots when you first start vaping.
After priming, install the coil into your tank and fill the tank with your chosen e-liquid. Let it sit for 5 to 10 minutes to allow full absorption. You can gently flick the tank or blow through the mouthpiece to encourage saturation if needed.
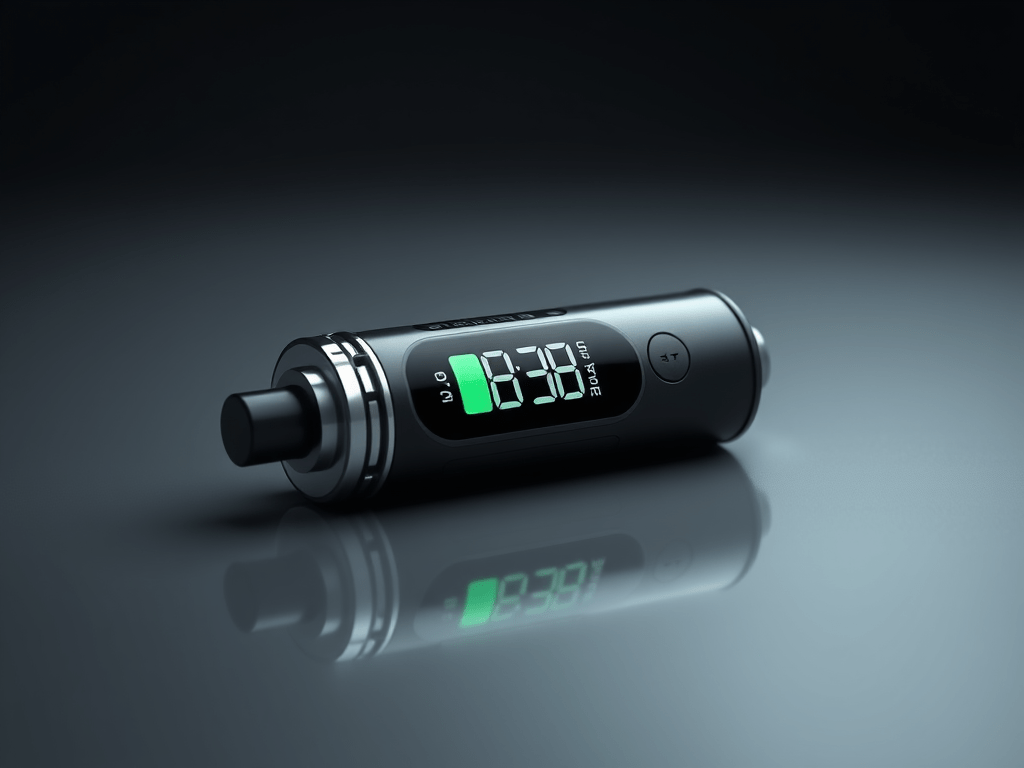
Step 2: Start at a Low Wattage
Set your device to a wattage below the recommended range for your coil. For example, if your coil’s suggested range is 40–60W, begin at around 25–30W. Take a few light puffs without fully inhaling to start drawing e-liquid through the cotton.
This helps the wick fully soak and ensures the metal coil begins heating gradually. Avoid chain vaping at this stage; give your coil time to rest between puffs.
Step 3: Gradually Increase Wattage
After a few puffs at low power, start increasing the wattage in small increments (about 5W at a time). Continue vaping lightly after each adjustment until you reach your desired power level.
This slow ramp-up process allows both the coil and wick to adapt to the heat, minimizing stress and preventing scorching. Once you reach your target wattage, the coil should deliver full flavor and consistent vapor production.
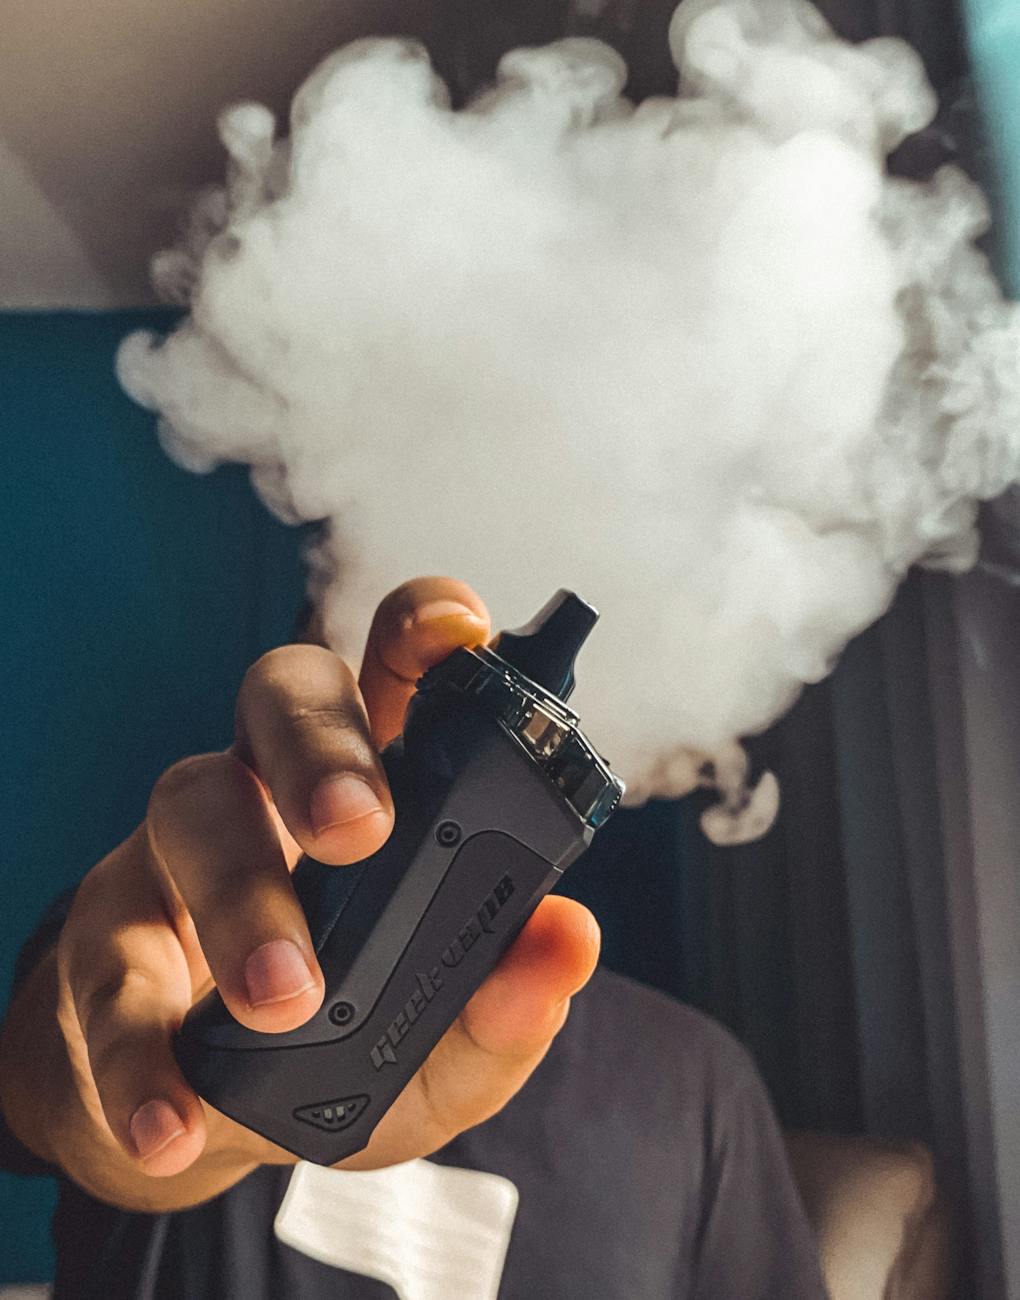
Step 4: Monitor Flavor and Vapor Production
During the break-in period, pay attention to the taste and vapor output. A properly broken-in coil will start with mild flavor that becomes richer over several puffs. The vapor should also become denser and smoother.
If you detect a faint burnt or metallic taste, stop immediately. Let the coil rest, and ensure the tank is full of e-liquid before continuing.
Step 5: Maintain the Coil
After breaking in your coil, maintain it by keeping your tank filled above one-third capacity. Avoid vaping at extremely high wattages for prolonged periods, as this can degrade the cotton faster. Occasionally clean the coil by gently rinsing it (if reusable) or wiping down the tank to prevent residue buildup.
Mistakes That Kill Flavor
Even the most experienced vapers can make errors that ruin a new coil. Understanding these common mistakes will help you avoid flavor loss and wasted coils.
Firing a Dry Coil
One of the biggest mistakes is firing your device before the wick is fully saturated. Dry hits not only taste terrible but permanently damage the cotton, making it impossible to recover flavor quality.
Ignoring Wattage Recommendations
Each coil is designed to perform within a specific wattage range. Running too high too early can overheat the wick, while running too low can cause flooding or muted flavor. Stick within the range printed on the coil for best results.
Chain Vaping During Break-in
Rapid, continuous puffs prevent the cotton from reabsorbing e-liquid quickly enough, leading to dry spots. Always wait a few seconds between hits during the first few sessions.
Using the Wrong E-Liquid Ratio
E-liquids with a high VG (vegetable glycerin) content are thicker and may take longer to saturate cotton. If you’re breaking in a coil, consider using a 50/50 VG/PG blend for the initial period before switching back to your usual mix.
Neglecting Coil Priming
Skipping priming entirely guarantees poor results. Even high-quality coils fail without this essential step. The few extra seconds it takes to prime properly will save you from frustration and burnt cotton.
Quick Fixes for Burnt Taste
If your coil starts to taste burnt, don’t panic. Here are a few quick fixes you can try before replacing it entirely:
- Lower the wattage and take shorter puffs to reduce stress on the coil.
- Refill your tank to ensure adequate saturation.
- Let the coil rest for a few minutes to allow the cotton to reabsorb e-liquid.
- Clean the coil (if reusable) by soaking it in warm water or ethanol for several hours, then drying thoroughly.
In some cases, if the cotton is severely burnt, replacement is the only option. However, if the issue occurs early, these steps may revive performance temporarily.
A Lifestyle of Patience and Precision
Breaking in a coil properly is a simple but essential ritual for any vaper. It’s about understanding your device, respecting the craftsmanship behind it, and embracing patience for better results. Much like savoring a freshly brewed coffee or enjoying a quiet moment after work, vaping can be a ritual of calm and focus. Many enthusiasts even pair their sessions with favorite accessories from Phone Vapes, enhancing both convenience and comfort during downtime.
Conclusion: Get the Most Out of Every Puff
Mastering the art of coil break-in is about more than preserving hardware—it’s about unlocking the full potential of your vape. By taking the time to prime, start low, and ramp up gradually, you not only improve flavor but also ensure each coil lasts longer and performs at its best.
Patience pays off with cleaner flavor, denser vapor, and fewer burnt hits. Even small details like the type of e-liquid or wattage range can have a lasting impact on your experience. For further insights into device maintenance and coil care, the Vape Club UK offers helpful guides for both beginners and advanced users.
As vaping continues to evolve, enthusiasts can expect new coil designs, materials, and technologies to emerge. Yet, the fundamentals of care and preparation will always remain the same. So next time you install a fresh coil, take a few extra minutes to break it in right—you’ll be rewarded with pure, satisfying flavor from the very first puff.


Leave a comment